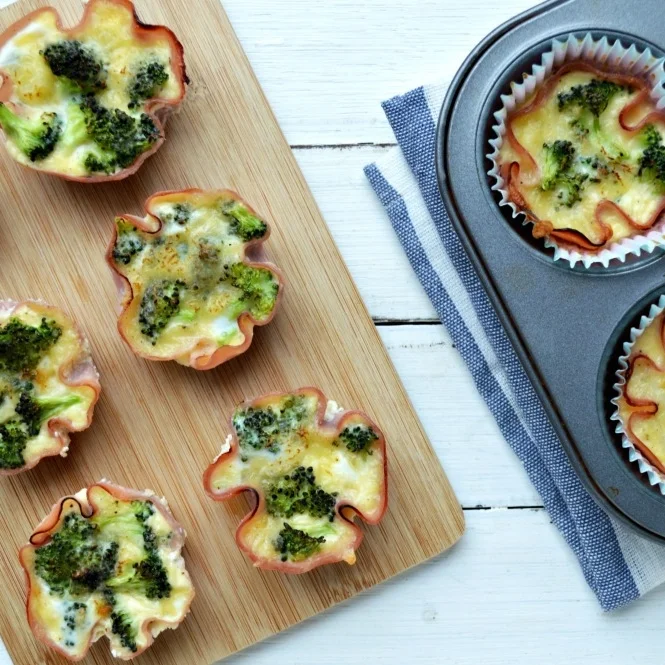
Gluten Free Mini Quiches with a Ham Crust
I'm nuts about these mini quiches for so many reasons! Swapping pasty for ham makes these quiches so much easier to make, and way more healthy too. They cook so quickly in a muffin tin! Line the muffin tin with paper cases will also save washing up. They are great for picnics, parties, lunch boxes, emergency dinners and so on. And they're gluten free. Scroll down for a vegetarian version.

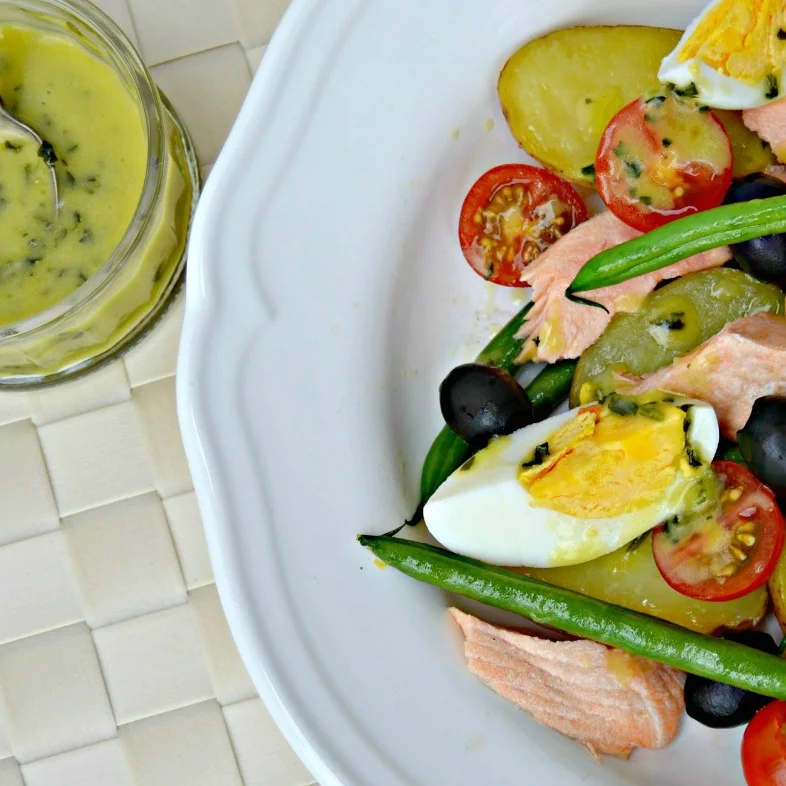
I use a simple quiche filling (milk, eggs and cheese) along with some broccoli. If you chop the broccoli fairly small there is no need to pre-cook it. I made these in my lesson last week as they are great make with kids. Serve with a new potatoes and salad for a speedy summer dinner.

For a vegetarian version, replace the ham with a bread crust. Take a slice of bread, cut off the crusts and roll it super flat with a rolling pin. Use the bread to line in the same way you would use the ham. No need to pre-bake, the bread crust works really well.
Mini Quiches with a Ham Crust:
Makes: 12
Time: 15 mins prep + 15 mins cooking
Cost: 29p per mini quiche
Calories: 96 per mini quiche
Ingredients:
Butter or oil for greasing OR 12 paper muffin cases
12 slices wafer thin ham
120g broccoli florets, chopped fairly small
4 large eggs, whisked
100g mature cheddar cheese. finely grated
180ml whole milk (or half single cream and half milk for a creamy taste)
Salt and freshly ground pepper to taste
Method:
Preheat the oven to gas mark 5 / 190 / 170 fan.
Using butter or oil, grease inside the holes of a 12 hole muffin tin really well OR use 12 paper cases (see notes above).
Line each hole in the muffin tin with a slice of ham to make a cup shape. Don't worry if they are a bit 'frilly' around the edges, they will take shape when they have their filling.
Distribute the broccoli evenly into the 'ham cups'.
Whisk together the eggs, cheese and milk really well. Season to taste with salt and pepper and whisk again. Go easy on the salt as cheese and ham are usually quite salty.
Carefully spoon the eggy mixture into each of the 'ham cups' so each is full and the mixture is evenly distributed. Don't worry if spills over the side a little bit.
Bake for around 15 minutes or until completely set. Leave to cool a little before eating. They can be eaten warm or cold.